As a reminder, I am making an Art and Craft style clock based on one at The Grove Park Inn for my eldest daughter’s upcoming wedding. See post #2 for the goal. I’ve decided to make the back frame and panel assembly first. A little sharpening is order before I get started. 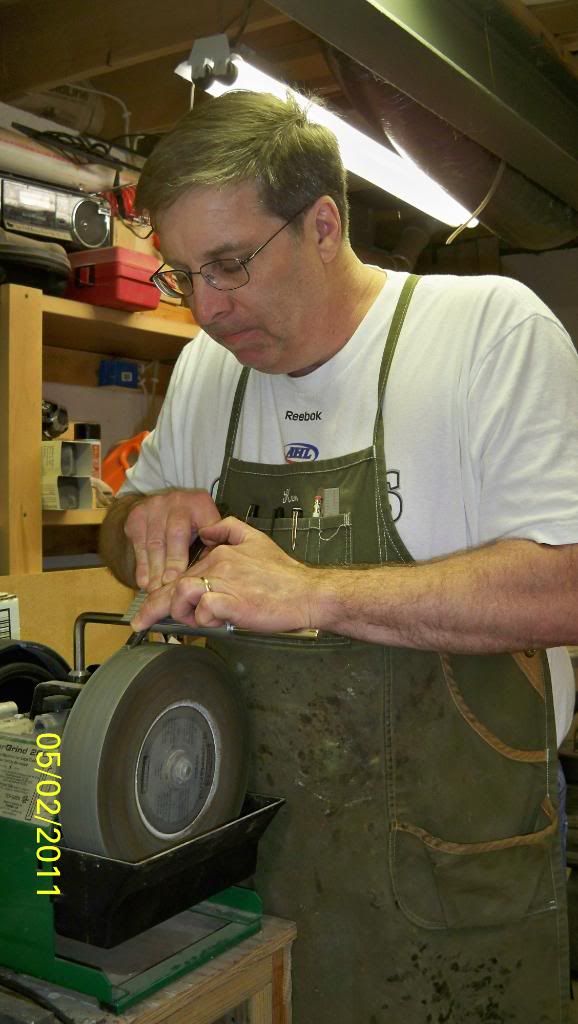
Next I planed the stiles flat and square with my Lie-Nielsen #7. 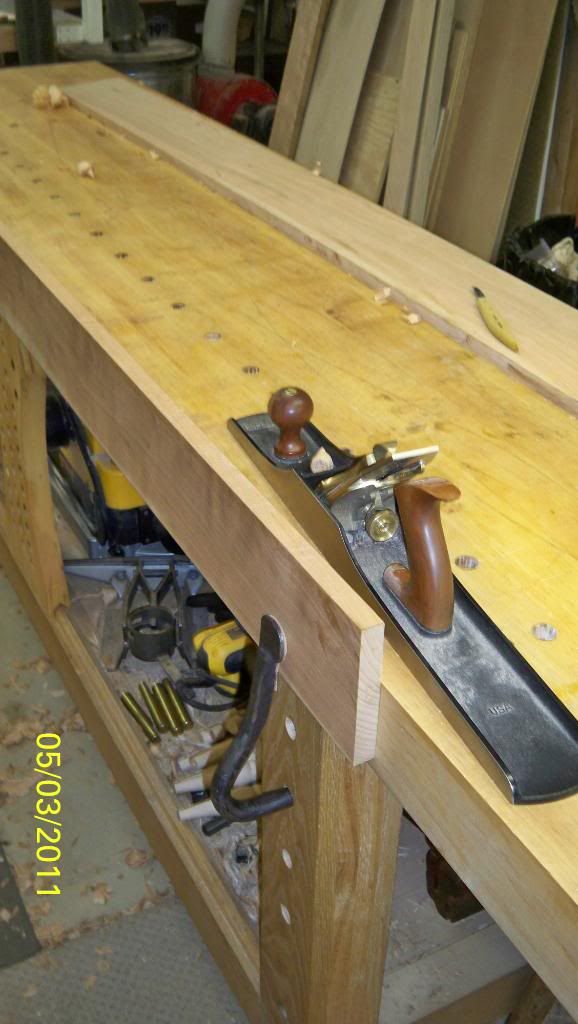
Then I just couldn’t handle the suspense anymore and had to lay out the panels and rails to see how it was going to look. This allowed me to select which panel was the upper and which was the lower. 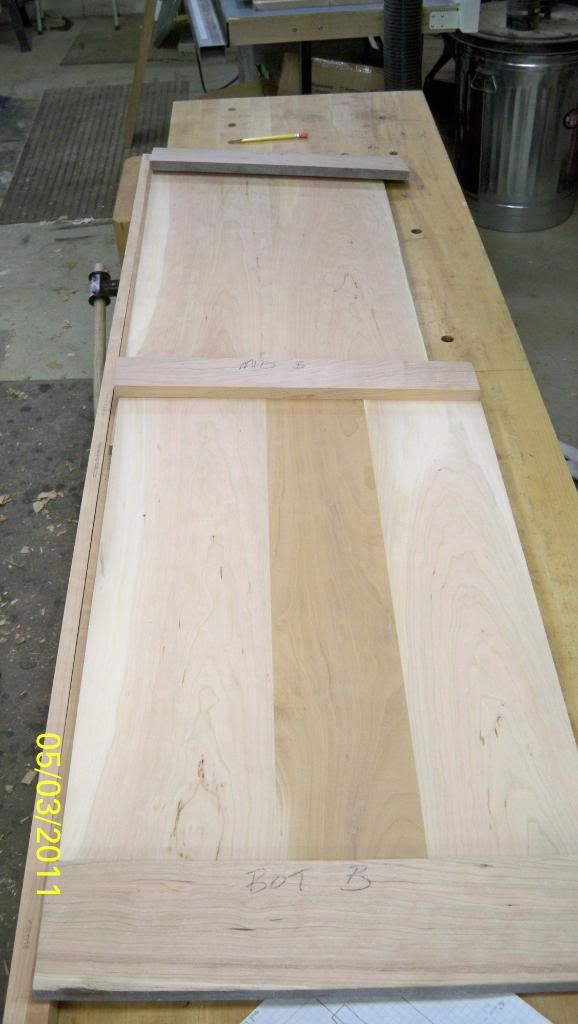
I set my mortise guage directly from the mortise chisel and then layed out the mortises. 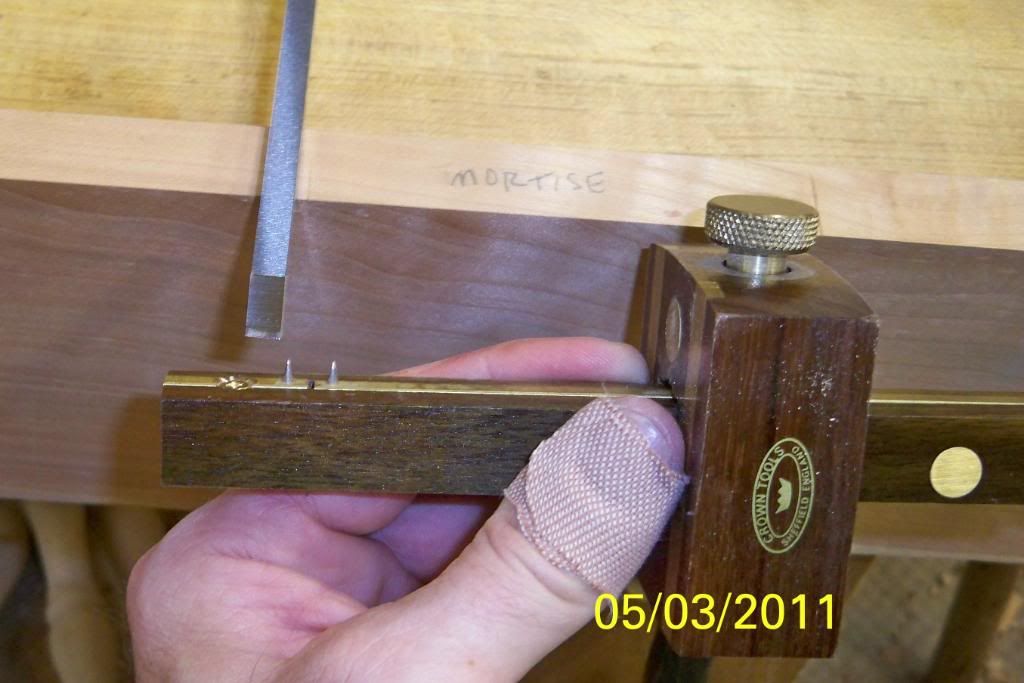
Since I am going to use a plow plane to make the grooves in the stiles, I need a mortise for the plane to start and stop. Here is one of those mortises. 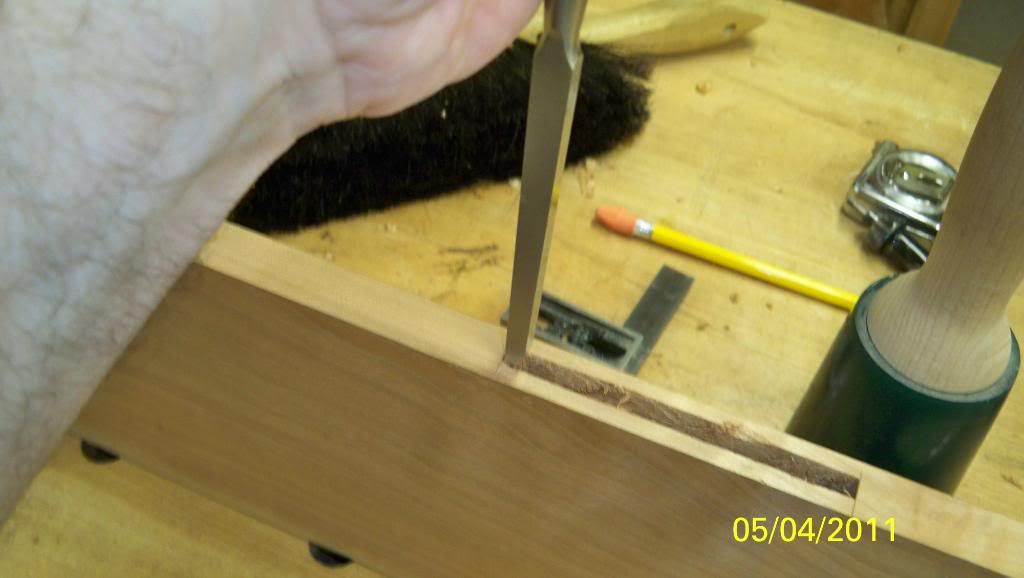
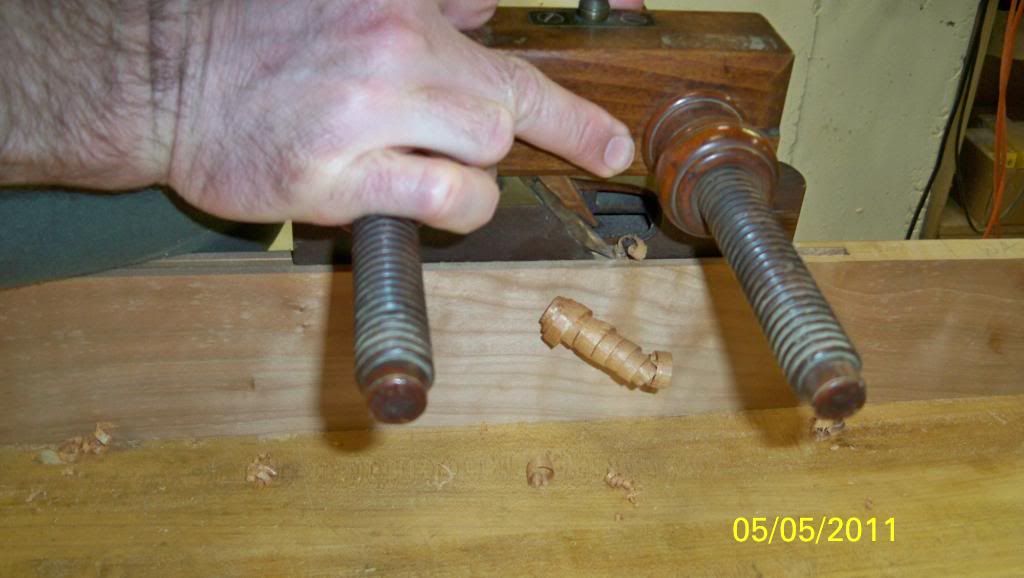
Now I can run those grooves. Look at those purty shavings. 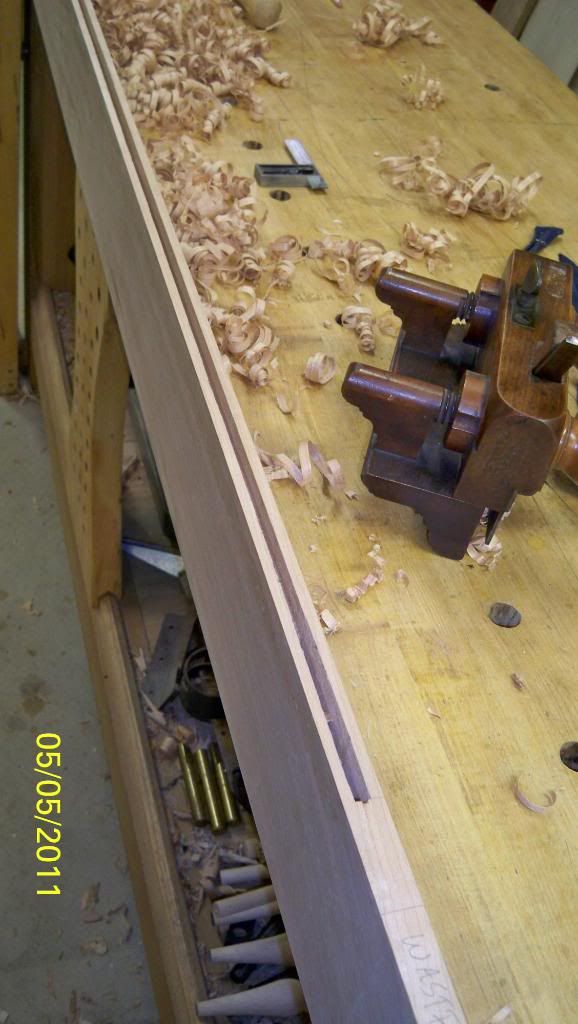
OK, that’s not fair. I know you want to see my plow plane in action, not just a picture of what it does. By popular demand … drum roll, please … 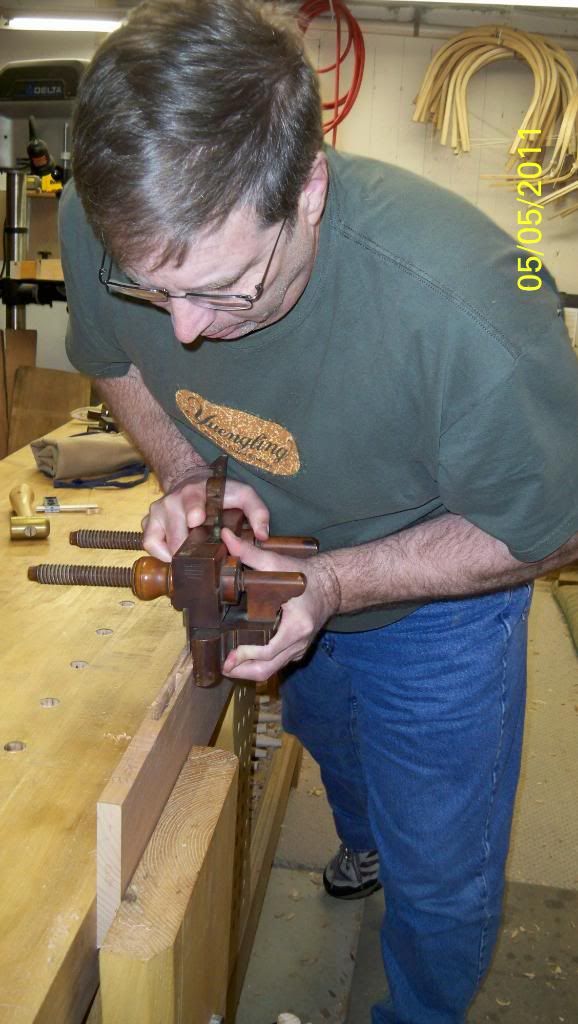

I ran the grooves in the rails while I was set up. The middle rail gets grooves in the top and bottom, the others only get one edge grooved. 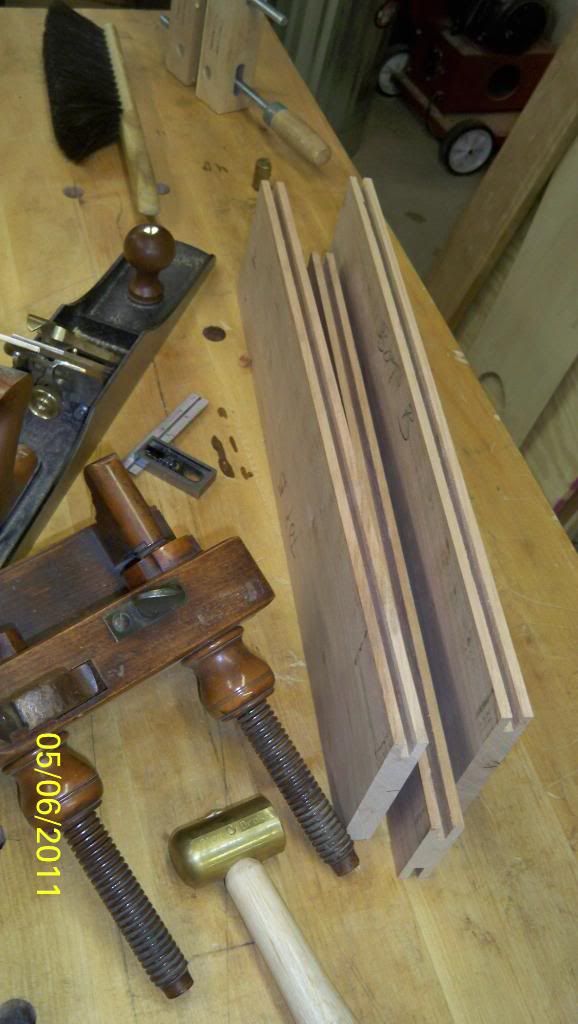
Now I am going to use those grooves to help line up my mortise chisels while I chop out the other two mortises in each stile. Oops, I pulled the chisel out but it was stuck and I sliced a bit of a cut on my figer. I “signed” the piece with a little DNA, see it there on the left. 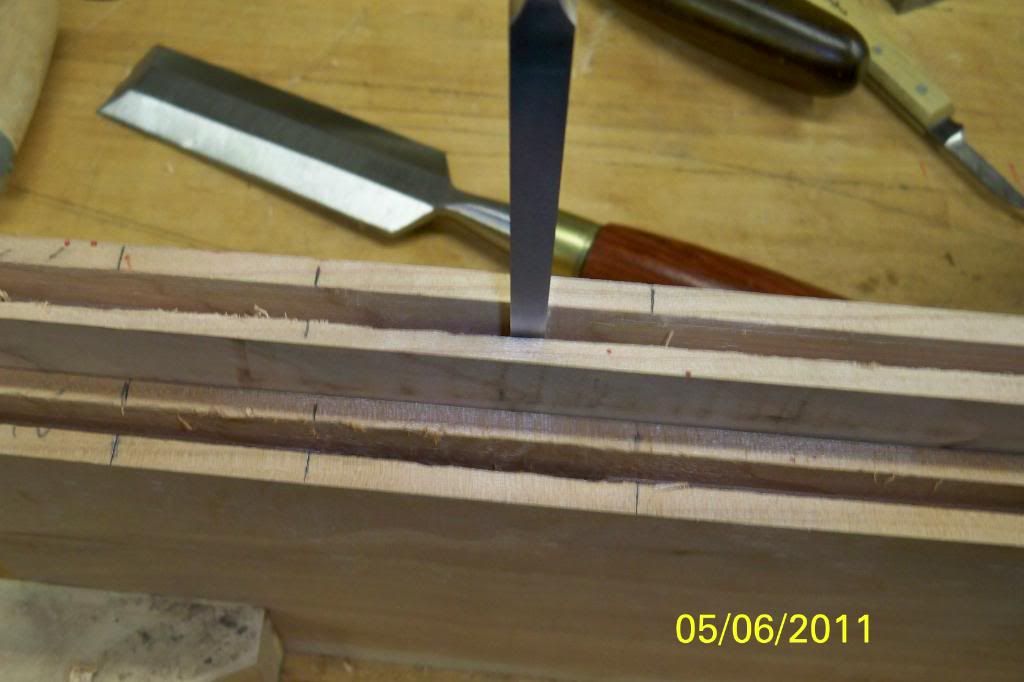
Here is pair of matching mortises. 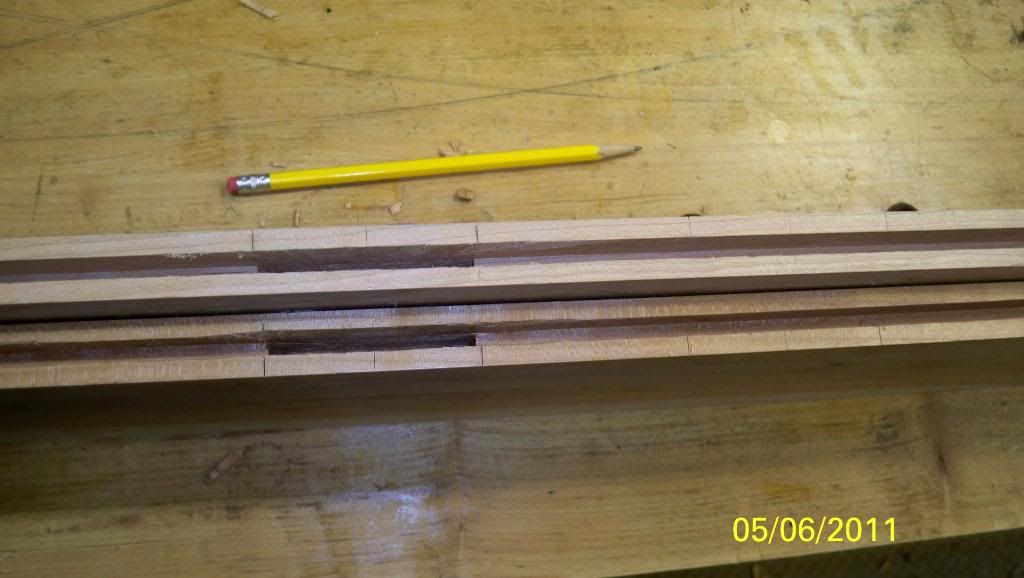
What do we do once we made mortises? That’s right, make the tenons. I’m going to use the table saw to define the shoulders. I could use the saw and do it by hand, but time is slipping away on me and I’ve got to get this done before the wedding actually occurs, right? 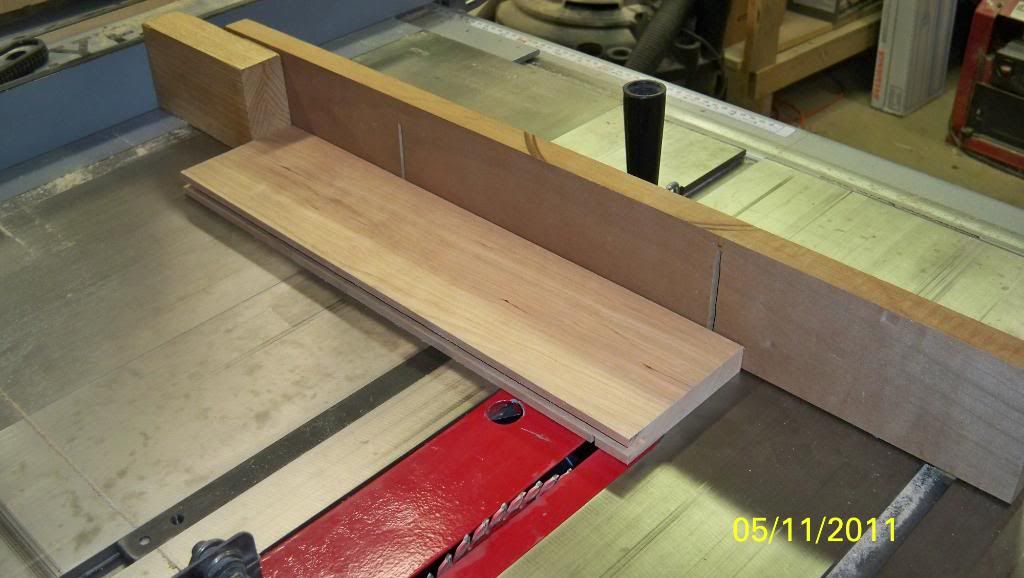
Then I removed the waste with a dado blade set up, just to speed up production a bit. For those of you following along, I am down to 18 weeks until the wedding. 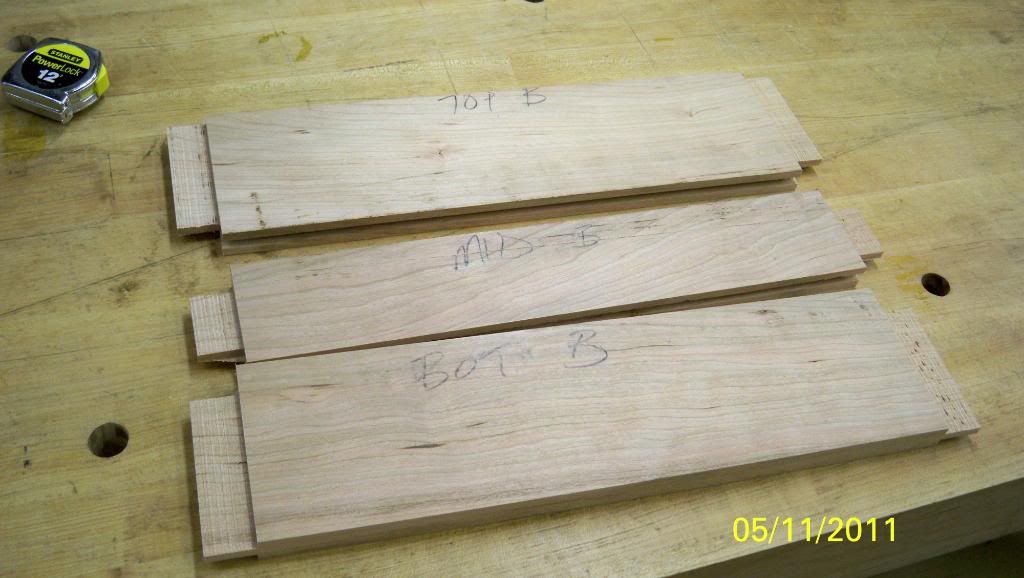
They still need fitted with a plane and some hand work so don’t try to throw me out of the club just because I cheated a bit and used the table saw back there. 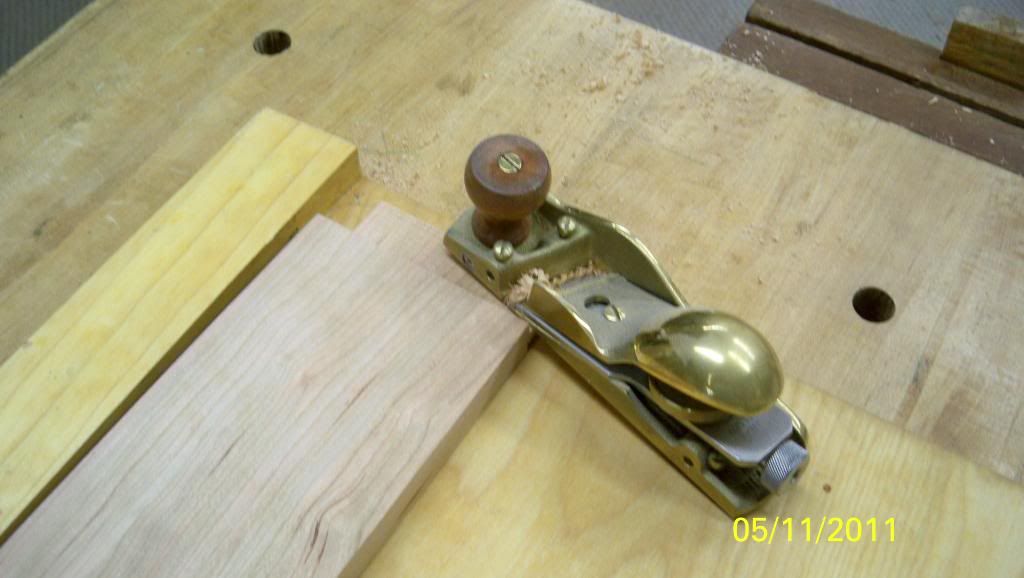
Look, I can use a saw to trim the tenons to length. 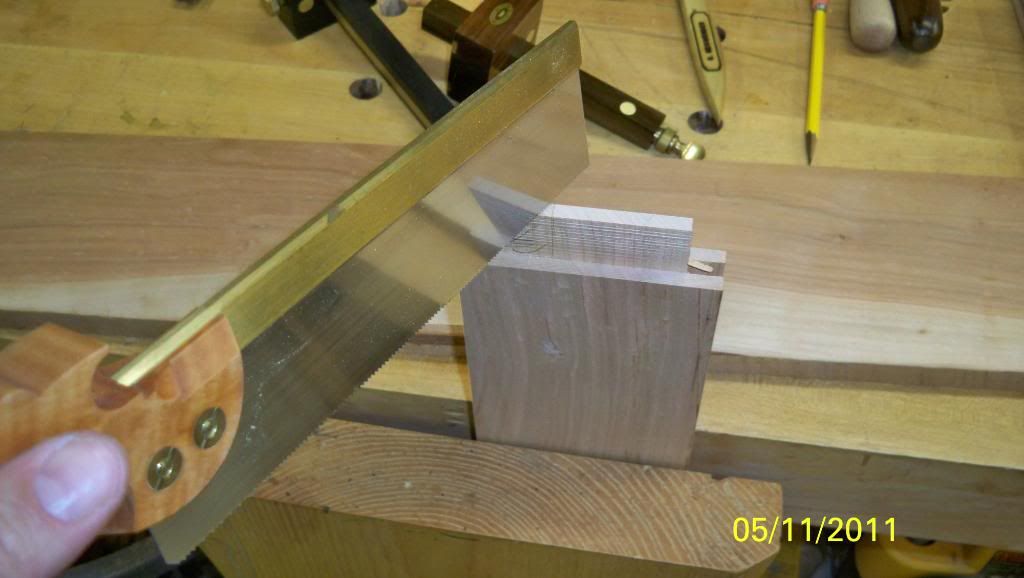
I want to make sure these stay square while I am working on them. 
Once again, my impatience is showing. I have enough of the joinery done that I can get a sneak peak at how this is going to look. Those are the front stiles sitting off to the side, their grain match is fabulous while the back is … well, it’s the back. 
Well, now those panels need a rabbet cut on one side so they will fit into those neato plow plane grooves. Back to the table saw for speed versus the rabbet plane, sorry … again. 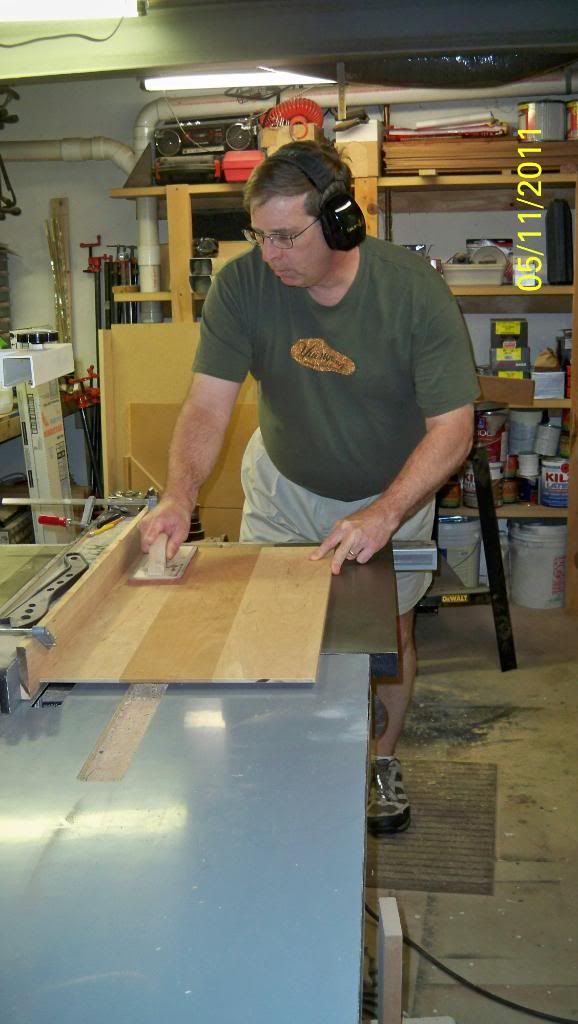
I did clean them up and do the final fitting with my skew plane, still ok? Not too mad about the table saw now, are you? 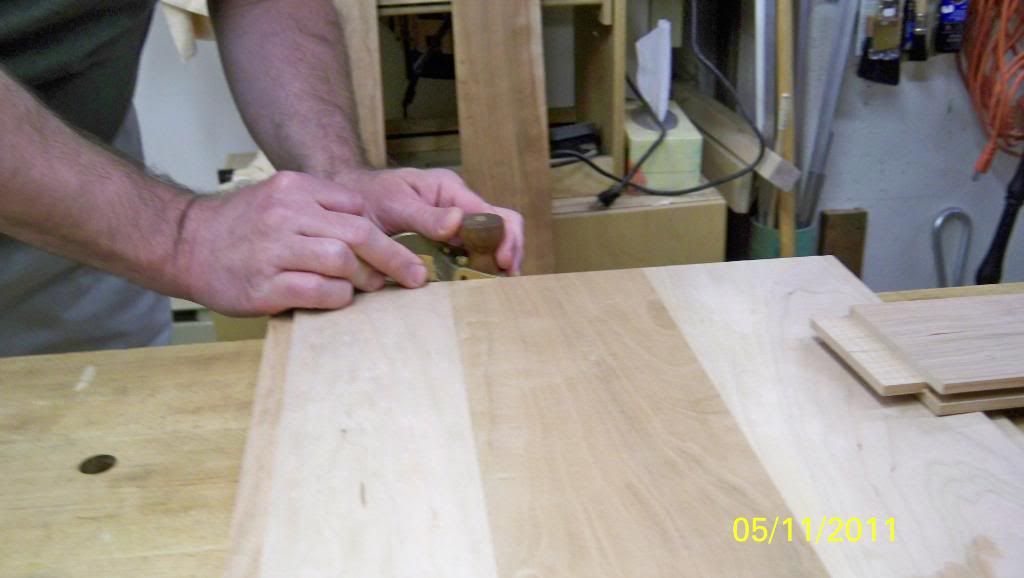
This stile fits good, that’s progress. 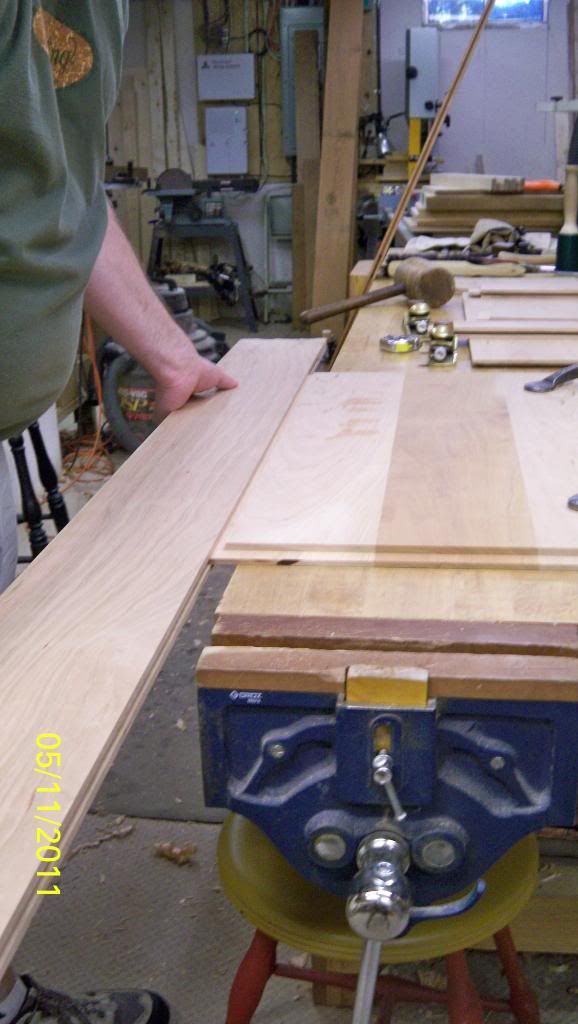
My plan was to hand plane all final surfaces so I took my #4 1/2 to the panels. 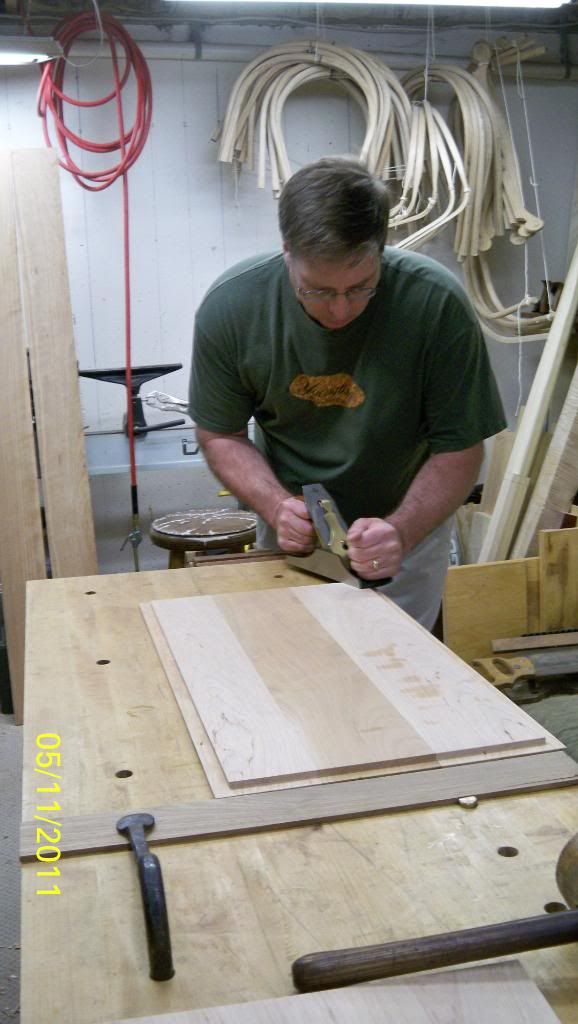
Unfortunately, I feel the time pressure closing in on me. I switched to the air sander. 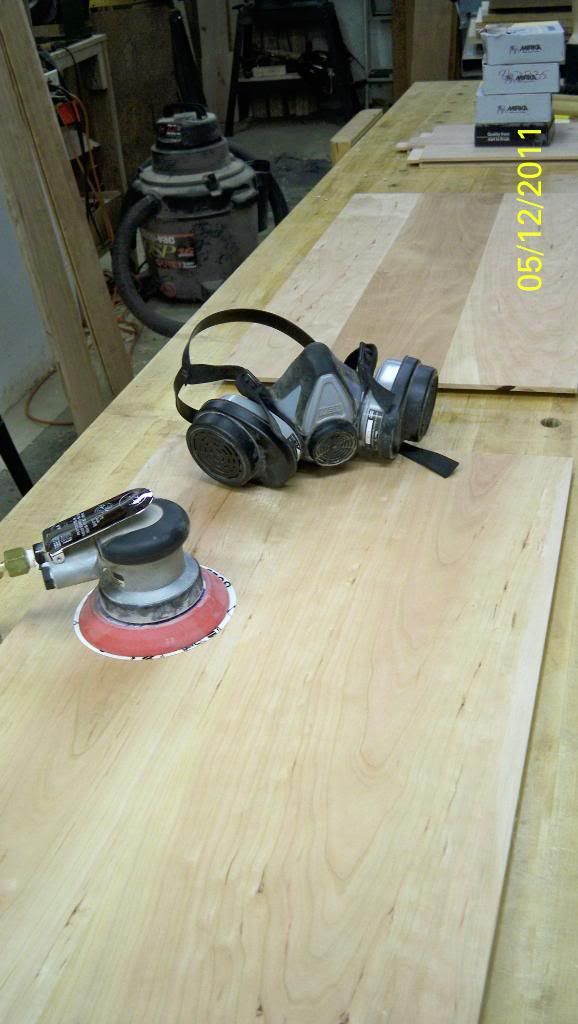
I made the switch mostly because I had some tear out and knew there would be more. Plus, there is no way I am not using sandpaper on those birdseye shelves that are coming up. Here’s another look at where I am headed. 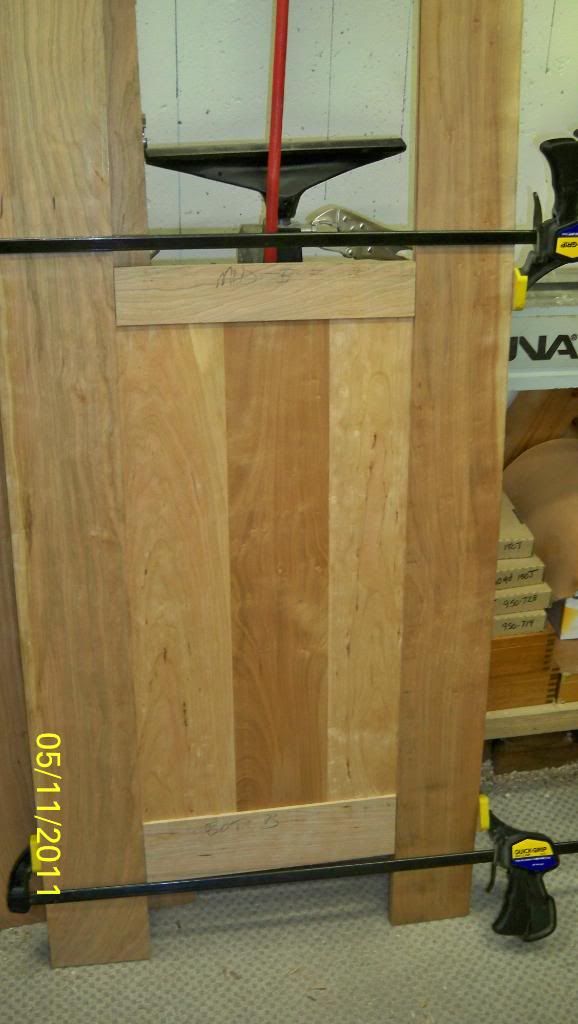
I needed to put some finish on those panels. I am going to put a coat of BLO (Boiled Linseed Oil) followed by clear shellac. Now you can start with the “oooh, ahhh, that looks great!” 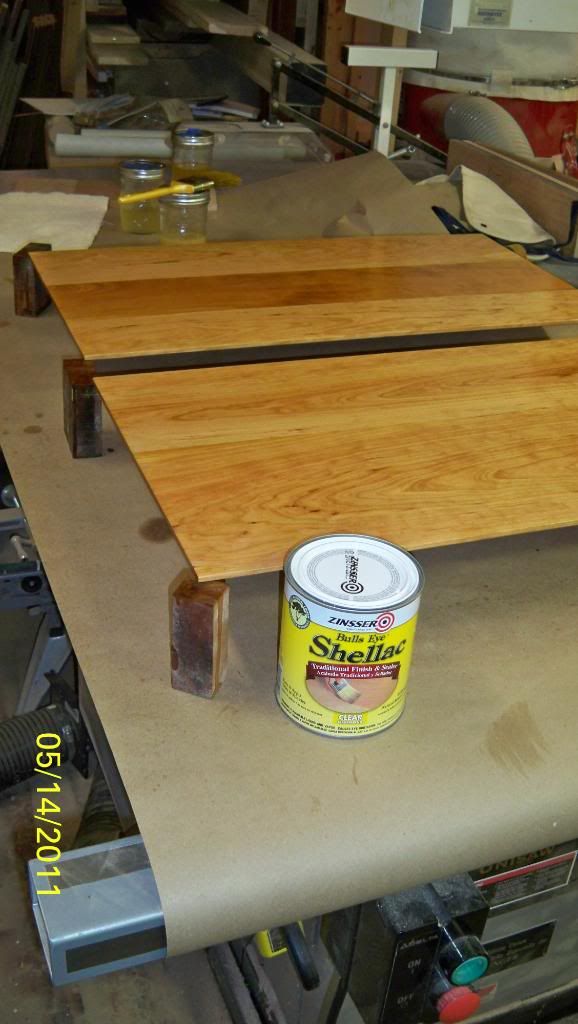
Confession time, using the plow plane dinged up the end of the starting/stopping mortises. It seems the skate hit the stile where it would show. My solution, add a shoulder to the bottom edge of the tenon. Can you see the ding and the layout for the shoulder? 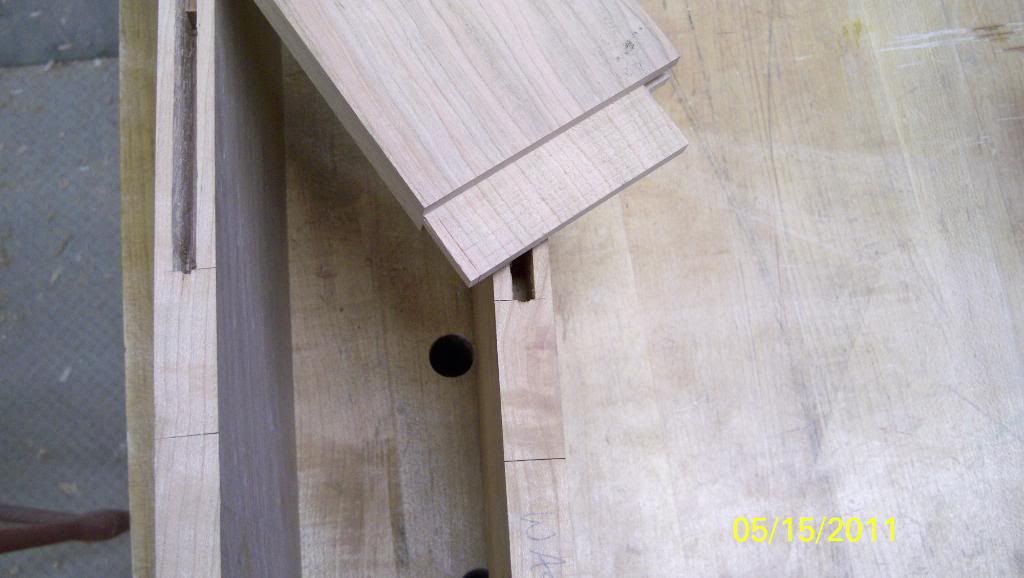
Let’s clamp this together and sand it all flush and smooth. 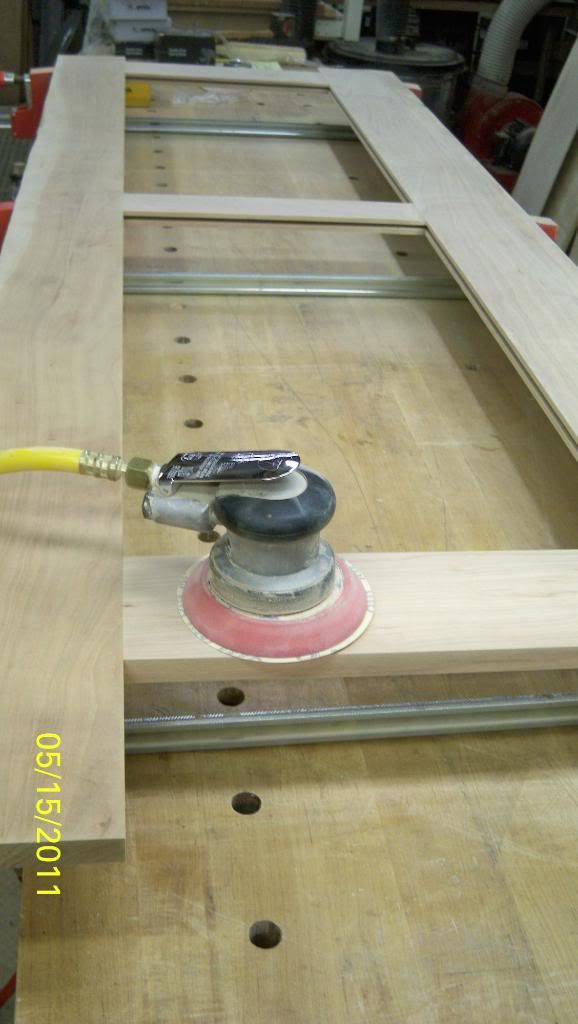
The bottom rail gets a radius profiled onto it. I am going to use a huge a@# forstner bit that I bought for just this job. It’s 3 3/8” and I ran the drill press at about 300 rpm to accomadate the bit size. 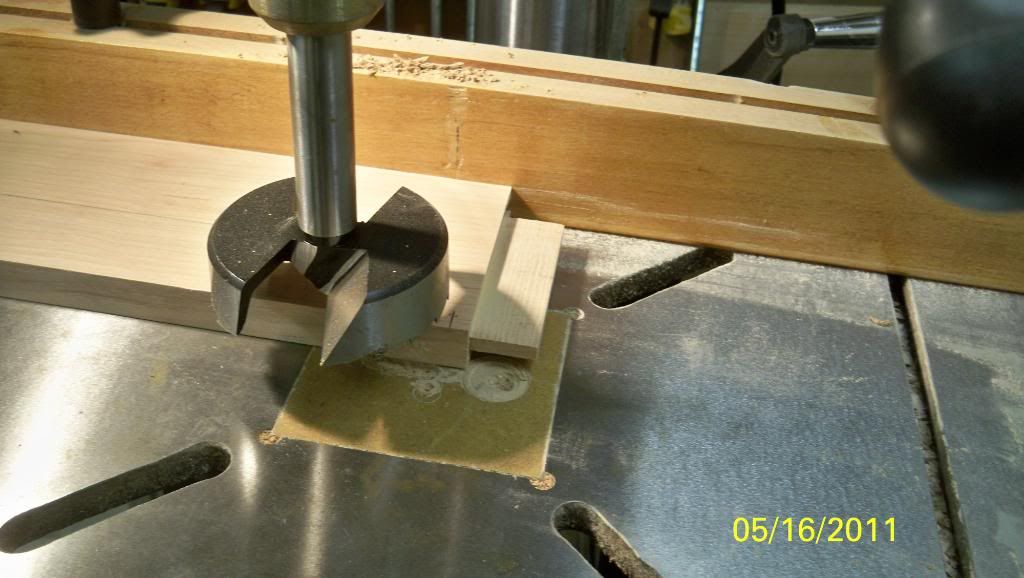
That worked great, well worth the expense since I am going to put the same profile on the bottom of each side. 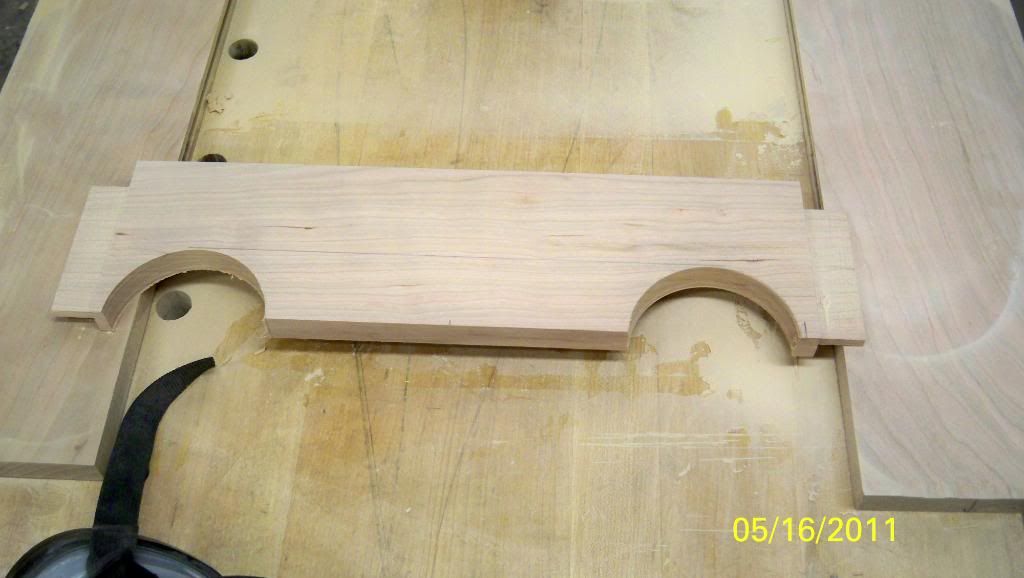
A little trim, connect the holes at the bandsaw and … 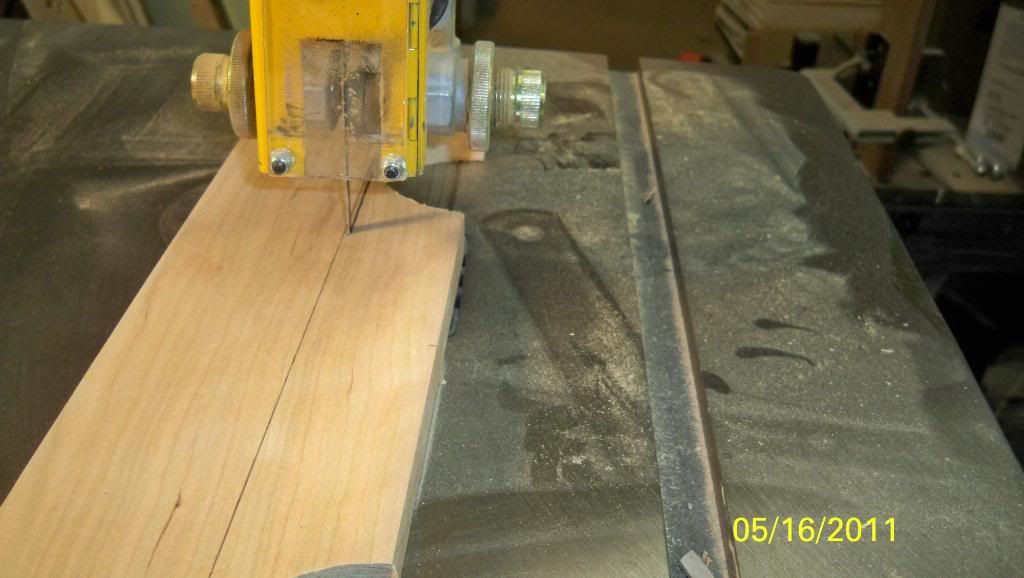
Here’s what we’ve got. 
Then I cleaned that up with a block plane and some rasps. You’ll have to trust me that on because those pics came out blurry. I put some BLO on the stiles and rails. I couldn’t take the suspense, here it is, no glue yet. 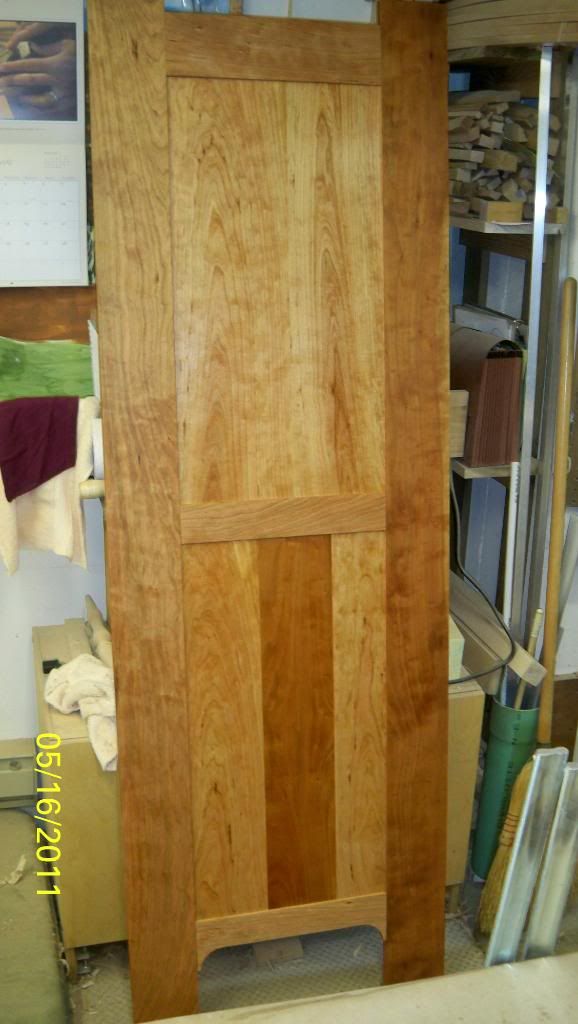
That’s it for now. Next, I’ll be making the frame. It should go easier since there are no panels to make and fit. It’ll be hard enough when I have to fit doors to those frame opening. Thanks for following along with me, leave me a note of encouragement since I have 17 weeks and 3 days to get this done.